> For the complete documentation index, see [llms.txt](https://learn.charm.fi/charm/llms.txt). Markdown versions of documentation pages are available by appending `.md` to page URLs; this page is available as [Markdown](https://learn.charm.fi/charm/manage-liquidity/user-guides/walkthroughs/create-vault.md).
# Create Vault
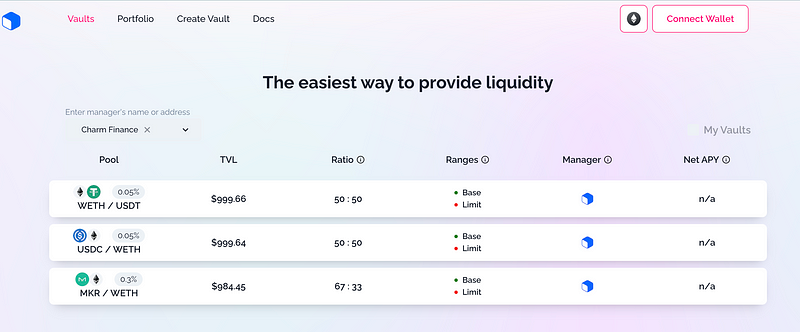
#### 1. Go to [alpha.charm.fi](https://alpha.charm.fi/create), and connect your wallet:
#### 2. Press Create Vault:
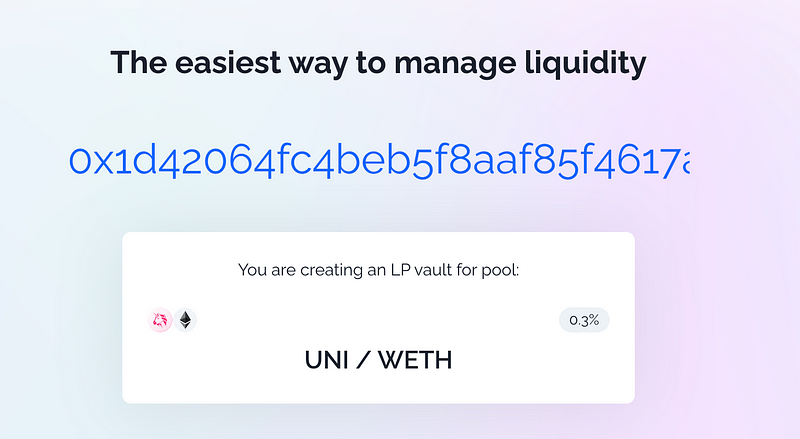
#### 3. Enter an Uniswap V3 pool address\*:
\*The Uniswap pool address can be found on the [Uniswap](https://info.uniswap.org/) website, or at [Oku](https://oku.trade/app/):
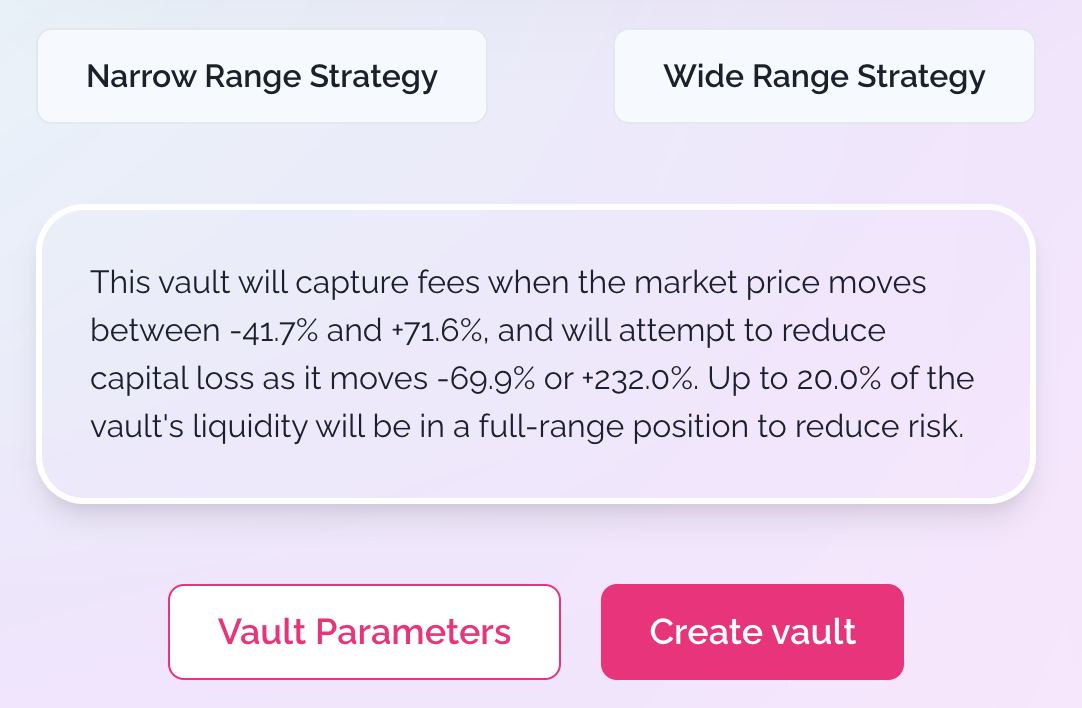
#### 4. Pick a Strategy category
Read the summary above to ensure you understand what the vault will do. A previous section on [Default Values](/charm/manage-liquidity/user-guides/create-vault/default-values.md) contain further guidance.
#### 5. Click Create Vault to send a transaction to create the vault:
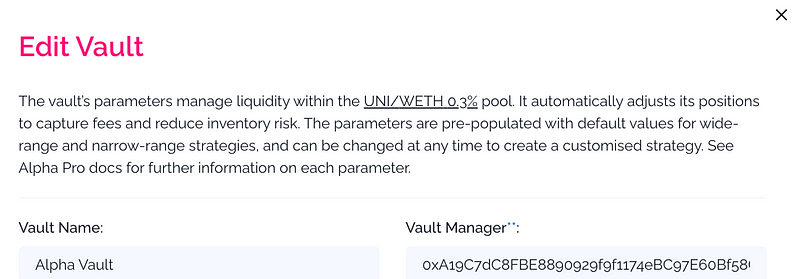
#### 6. Alternatively, you can Click Vault Parameters to Edit the Vault before creating a vault:
or to change the strategy:
Alpha Vaults's [track record](https://docs.google.com/spreadsheets/d/1xDOWx2MGX6M3BlEIclFd-MpY6EgVkxyTPpK_2X0tao0/edit#gid=212561072) describes how the strategy can be changed to achieve different outcomes.
#### 7. Press Create Vault to send the transaction to create the vault:
#### 8. When the transaction confirms, you will get a welcome screen confirming the vault was created:
#### 9. Click [Next Steps ](/charm/manage-liquidity/user-guides/create-vault/next-steps.md)to learn some of the things you can do with your vault.
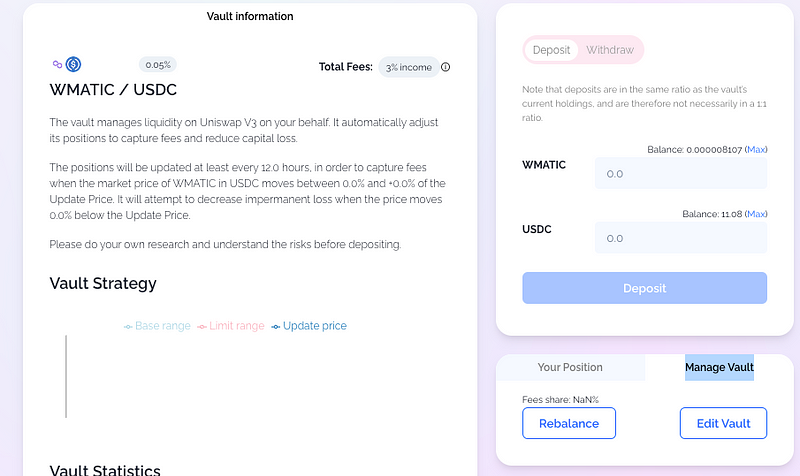
#### 10. Click View Your Vault to see your vault — it’s now ready to accept deposits!
The next section illustrates how to change the settings of your vault.